By Ahmed Hassan, Maryland Licensed Home Inspector #34028 · InterNACHI Certified · Updated October 2026
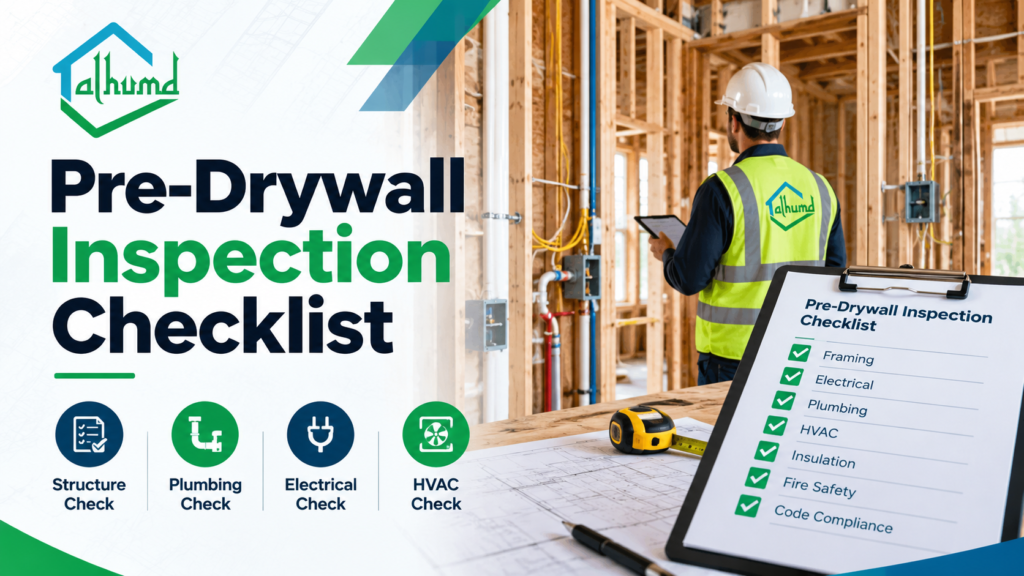
Your builder’s site supervisor emails on a Tuesday: insulation goes in Friday. That leaves three days, and after Friday every wire, pipe, duct and stud in your new Maryland home disappears behind half-inch gypsum for good. This pre-drywall inspection checklist covers the 47 items worth checking in that window. It’s grouped the way an inspector actually walks a framed house, from framing and water control to plumbing, electrical, HVAC and fire safety. You’ll also see when to book, what the county inspector doesn’t check, and how to hand findings to your builder without starting a fight. If you’re buying in Clarksburg, Urbana, Frederick or anywhere else new homes are going up fast, this is the stage that matters most.
What is a pre-drywall inspection?
A pre-drywall inspection is an independent check of a new home’s framing, rough-in systems and building envelope after the plumbing, electrical and HVAC are installed but before insulation and drywall cover them. It’s also called a pre-concealment or framing inspection.
The timing is the whole point. A cracked header, a missing nail plate or an unflashed window costs a carpenter 20 minutes to fix today. After drywall, the same problem means cutting walls, patching and repainting, if anyone ever finds it at all.
Quick answer: Book it after the plumbing, electrical and HVAC rough-ins pass county inspection and before insulation goes in. Most framed houses take 2 to 3 hours to inspect, and you should have a photo report the same day.
“The county already inspects it.” Why isn’t that enough?
County inspections confirm minimum code compliance at specific points. They don’t check how well the house is built for you, and they don’t hand you a report. In Montgomery County that’s the Department of Permitting Services; in Howard County it’s the Department of Inspections, Licenses and Permits; Frederick County runs its own permitting division. Their inspectors are often covering many homes a day across a subdivision.
Maryland adopted the 2021 International Energy Conservation Code (IECC) on May 29, 2023, and local jurisdictions had until May 29, 2024 to enforce it (Maryland Energy Administration). Tighter energy rules mean more air sealing and insulation detail to verify before walls close. That’s more detail than a quick code visit is built to catch.
| Question | County code inspection | Independent pre-drywall inspection |
|---|---|---|
| Who hires them? | The builder pulls the permit | You, the buyer |
| What’s the standard? | Minimum code | Code plus workmanship and manufacturer instructions |
| Do you get a report? | Usually a pass/fail card on site | Written report with photos and locations |
| Typical time per house | Often short visits per trade | 2 to 3 hours for the whole house |
| Who do they work for? | The jurisdiction | Only you |
The two aren’t competitors. A house can pass every county inspection and still have a twisted joist, a loose duct boot or a missing fire block. Plenty of new homes do.
When should you schedule a pre-drywall inspection?
Schedule it for the gap between the last rough-in passing county inspection and the insulation crew arriving. That gap can be as short as two or three days on a production schedule, so ask your builder for the target date as soon as framing starts.
The new-construction inspection timeline
- Foundation and footings: poured and backfilled; your inspector can’t see much here later. See how foundation inspection works.
- Framing complete: roof sheathed, windows set, house wrapped.
- Rough-ins installed: plumbing, electrical, HVAC, low-voltage. Book your pre-drywall inspection here.
- Insulation and drywall: the walls close.
- Final walkthrough: a full inspection before closing.
- Month 11: a builder warranty inspection before your first-year coverage ends.
What if the insulation is already in?
An inspection is still worth doing, but it changes. Your inspector can still check the attic, basement, unfinished areas, open ceilings and anything the insulation doesn’t cover. Thermal imaging helps after drywall, but it can’t see a missing nail plate. Ask your builder to hold insulation in one or two rooms if you’re close to the deadline.
The 47-point pre-drywall inspection checklist
This checklist covers what a pre-drywall inspector checks, grouped the way the house is built. Print it, or save this section to your phone for the walkthrough.
Framing and structure (10 items)
- Studs straight and plumb, with no badly bowed or twisted members
- Headers sized and installed over every door and window opening
- Notches and holes in studs and joists within International Residential Code (IRC) limits
- Engineered floor joists (I-joists) not cut or drilled outside the manufacturer’s allowed zones
- Roof trusses not cut, broken or altered without an engineer’s repair detail
- Hurricane ties and truss hangers present and fully nailed
- Beams and posts bearing properly at both ends, with solid blocking under point loads
- Sill plate anchored to the foundation, with sill gasket in place
- Subfloor glued and fastened, with no squeaks or soft spots underfoot
- Stairs framed to the plans, with blocking ready for handrails
Water management and building envelope (7 items)
- House wrap installed shingle-style, with seams taped and no tears
- Windows flashed to the manufacturer’s instructions, sill pan in place
- Door thresholds flashed and sloped to drain
- Roof penetrations and step flashing at walls installed correctly
- No standing water, mold or soaked framing; wood moisture content checked with a meter
- Deck ledger flashed and bolted, not just nailed
- Basement walls show no active leaks or cracks letting water in
Plumbing rough-in (8 items)
- Steel nail plates where pipes run within 1 1/4 inches of a stud face
- Drain lines sloped correctly, with no sags or back-pitch
- Vent pipes present and connected to the main stack
- Supply lines (PEX or copper) supported and protected at bends
- Tub and shower valves set at the right height and depth for the finished wall
- Pipes kept out of exterior walls where freezing is a risk
- Water heater location, venting and drain pan provisions in place
- Pressure test on supply lines is holding (ask for the gauge reading)
Electrical rough-in (8 items)
- Cables stapled and supported within the required distance of boxes
- Nail plates where cables are close to the stud face
- Boxes set flush for the drywall thickness being used
- Box locations match your plans: outlets, switches, island receptacles
- Kitchen, bath and garage circuits planned for GFCI/AFCI protection
- Smoke and carbon monoxide detector boxes in every required location
- Panel location has the required clear working space
- Low-voltage, data and speaker wire run where you asked for it, and photographed
HVAC rough-in (7 items)
- Ducts sealed at joints and boots with mastic or approved tape
- Flex duct supported, not kinked, crushed or running longer than needed
- Supply and return registers placed where the plans show them
- Return air path from every bedroom
- Bath fans and range hood ducted to the outdoors, not into the attic
- Dryer vent run in rigid metal duct to an exterior termination
- Gas lines sized, supported and pressure-tested, with a shutoff at each appliance
Fire safety and energy (7 items)
- Fire blocking at soffits, chases and every floor-to-floor opening
- Draft stopping in attics and floor systems where required
- Garage-to-house wall and ceiling framed for fire-rated drywall
- Penetrations between garage and living space sealed with fire-rated material
- Air sealing at top plates, rim joists and wire and pipe holes, ready for the blower door test under the 2021 IECC
- Insulation baffles at the eaves so attic ventilation stays open
- Attic access framed, and attic ventilation (soffit and ridge) matches the plans
Save this list. Take a photo of every wall before the insulation goes in. Those photos will save you hours later when you’re hanging a TV or tracing a leak.
What problems does a pre-drywall inspection usually find?
Most findings are small, quick fixes, not structural disasters. The point is to catch them while a 10-minute fix is still a 10-minute fix.
| Finding | Why it matters | Easy to fix now? |
|---|---|---|
| Missing nail plates | A drywall screw can puncture a pipe or wire later | Yes, minutes |
| Unsealed duct joints | Uneven rooms and higher energy bills | Yes |
| Bath fan vented into attic | Moisture and mold in the attic | Yes |
| Missing fire blocking | Fire can spread faster through hidden cavities | Yes |
| Over-cut joists or trusses | Sagging floors or roof framing | Needs an engineer’s repair detail |
| Wet framing or early mold | Mold behind finished walls | Needs drying and treatment |
| Window flashing errors | Slow leaks that rot framing for years | Yes, if caught before siding |
Wet framing deserves a closer look in Maryland. Humid summers and a fast build schedule mean lumber can get rained on and closed in before it dries. If your inspector finds high moisture readings, ask the builder to dry the framing and recheck before insulation. A mold inspection makes sense only if visible growth is found.
How do you share findings with your builder without a fight?
Send the report to your sales rep and site supervisor at the same time, in writing, and ask for a written response on each item before insulation. Builders usually fix pre-drywall findings fast, because it’s cheap now and expensive later.
A few things make this go smoother:
- Check your contract first. Some builder contracts limit third-party inspections or require notice and insurance proof. Ask early so access isn’t a surprise.
- Tell the builder in advance. Give the date and your inspector’s name. Most production builders allow it if they know ahead of time.
- Stick to facts. A good report gives the location, a photo and the standard. That’s easier for a supervisor to act on than “the framing looks bad.”
- Ask for proof of fixes. Photos of corrected items are fine. A reinspection is better for structural items.
Keep the report. It becomes your baseline for the final walkthrough inspection and for any warranty claim later.
How long does it take, and what does it cost?
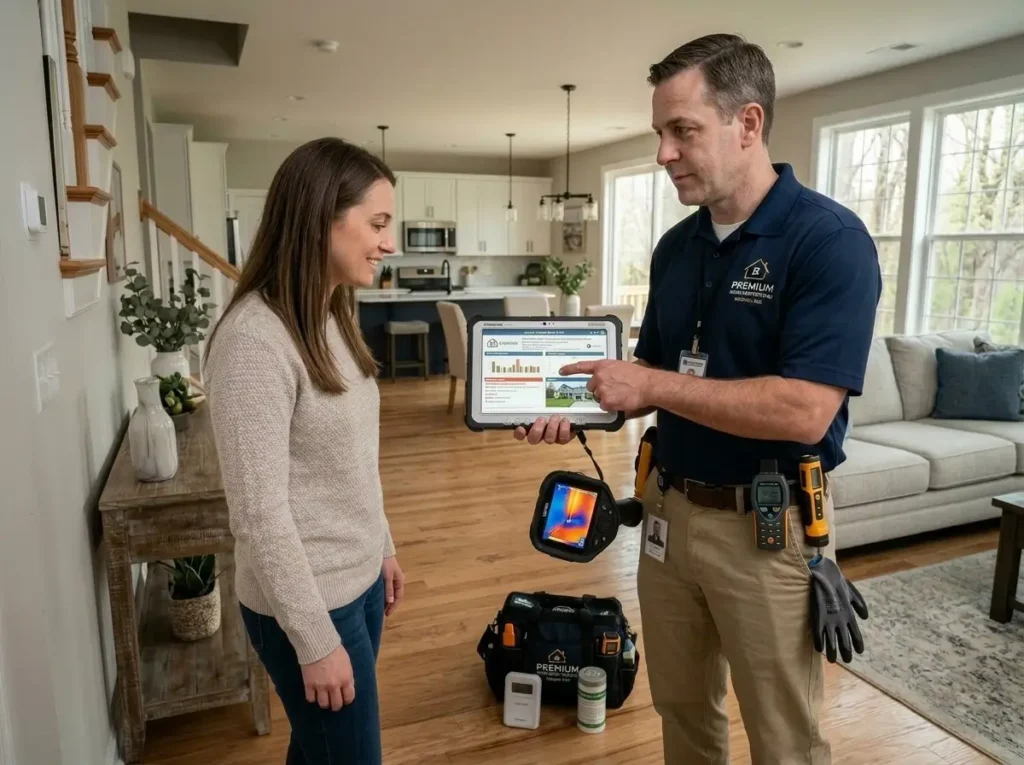
Most pre-drywall inspections take 2 to 3 hours, depending on square footage and the number of floors. Expect a photo report the same day.
Cost depends mostly on home size. A pre-drywall inspection is usually priced below a full home inspection, because there are no appliances or finished systems to test. Prices vary between inspectors and change over time, so confirm the current rate with any company you consider. At Alhumd, you can see availability and book online on the scheduling page; the code SELFSCHEDULE takes $20 off.
Is a pre-drywall inspection worth it?
For most buyers of a new build, yes. Consider it against what a hidden problem costs once the walls are finished. One leaking shower valve can mean opening a wall, replacing drywall and tile, and repainting.
It’s less useful in one case: if the builder won’t allow access and the contract backs them up. Then put your effort into the final walkthrough, a thermal imaging inspection after drywall, and the 11-month warranty inspection.
Does Maryland law protect you if something is missed?
Partly. Maryland law gives buyers of new homes an implied warranty against defects. Builders who sell under a warranty security plan under Real Property Article §10-601 and following must cover at least 1 year for materials and workmanship, 2 years for electrical, plumbing and HVAC systems, and 5 years for structural defects. That’s according to Maryland condominium attorney Andrew Mehl’s summary of the statute (Maryland Condo Law).
A warranty is only as good as your proof, though. Pre-drywall photos show what was installed before it was hidden. That makes a claim much stronger. Ask a Maryland real estate attorney about your specific contract, because warranty terms vary by builder.
Pre-drywall inspections across Maryland
Alhumd inspects new construction in the fastest-growing building areas of the state. That includes Clarksburg and Germantown in Montgomery County, Urbana and Frederick, and Columbia and Ellicott City in Howard County. It also includes Clarksburg townhome communities and new subdivisions across Anne Arundel and Prince George’s counties. Inspections include photo documentation and, where it helps, a drone view of the roof.
Final word
A pre-drywall inspection checklist is only useful if someone works through it before the insulation truck arrives. Book the inspection as soon as your builder gives you a rough-in date, use the 47 points above as your guide, and photograph every wall. Send findings in writing and ask for proof that each one is fixed.
If you’re building in Maryland and want a licensed inspector to walk the framing with you, see how our pre-drywall inspection in Maryland works. You can also schedule your inspection online or call (667) 686-7281. Not sure what an inspection report should look like? Read our guide on decoding the home inspection report.
The walls close once. Check what’s inside them first.
Frequently asked questions
What does a pre-drywall inspector check?
A pre-drywall inspector checks framing, structural connections, window and door flashing, house wrap, and the plumbing, electrical and HVAC rough-ins. They also check fire blocking and air sealing. The goal is to find workmanship and installation problems while they can still be fixed without opening finished walls.
When is the best time to schedule a pre-drywall inspection?
The best time is after all rough-ins pass county inspection and before insulation is installed. Ask your builder for that date when framing starts, because the window is often only two or three days on a production schedule.
How long does a pre-drywall inspection take?
Most take two to three hours. A large single-family home with a finished basement plan or three floors can take longer. Alhumd sends a photo report the same day, so you can share findings with your builder before insulation goes in.
Is a pre-drywall inspection the same as a county framing inspection?
No. The county inspector checks minimum code for the jurisdiction. A pre-drywall inspector works only for you, checks workmanship and manufacturer instructions too, and gives you a written report with photos.
Can my builder refuse a third-party inspection?
Some builder contracts limit or set rules for outside inspections, such as advance notice or proof of insurance. Read your purchase agreement early and tell your sales rep the inspection date in writing. Most builders allow it when they’re told ahead of time.
Should I be at the pre-drywall inspection?
Yes, if you can be. Being there lets you see problems in person and confirm outlet, data and fixture locations. It’s also your best chance to photograph every wall before it’s closed.
What happens if the inspection finds problems?
Send the report to your builder in writing and ask for a written response for each item before insulation. Most fixes are quick. For structural items, ask for an engineer’s repair detail and a reinspection or photos of the repair.
Is a pre-drywall inspection worth it on a new home with a warranty?
For most buyers, yes. A warranty covers defects you can prove, and pre-drywall photos are strong proof of what was installed. Fixing a problem before drywall is also far cheaper than opening a finished wall later.
Do I still need a final inspection after a pre-drywall inspection?
Yes. The pre-drywall inspection covers what’s inside the walls. The final inspection before closing checks finished systems, appliances, grading and the roof. Many buyers add an 11-month warranty inspection too.
Do you do pre-drywall inspections for townhomes and condos?
Yes. Townhome and condo units have the same rough-in systems and shared walls with fire separation rules. Alhumd inspects new townhomes and single-family homes across Montgomery, Frederick, Howard, Anne Arundel and Prince George’s counties.